Customize Consent Preferences

We use cookies to help you navigate efficiently and perform certain functions. You will find detailed information about all cookies under each consent category below.

The cookies that are categorized as "Necessary" are stored on your browser as they are essential for enabling the basic functionalities of the site. ... 

Always Active

Necessary cookies are required to enable the basic features of this site, such as providing secure log-in or adjusting your consent preferences. These cookies do not store any personally identifiable data.

No cookies to display.

Functional cookies help perform certain functionalities like sharing the content of the website on social media platforms, collecting feedback, and other third-party features.

No cookies to display.

Analytical cookies are used to understand how visitors interact with the website. These cookies help provide information on metrics such as the number of visitors, bounce rate, traffic source, etc.

Performance cookies are used to understand and analyze the key performance indexes of the website which helps in delivering a better user experience for the visitors.

No cookies to display.

Advertisement cookies are used to provide visitors with customized advertisements based on the pages you visited previously and to analyze the effectiveness of the ad campaigns.

No cookies to display.

Skip to Content
Features

A Guide to Knolling (Including: What the Hell Is Knolling?)

A Guide to Knolling (Including: What the Hell Is Knolling?)

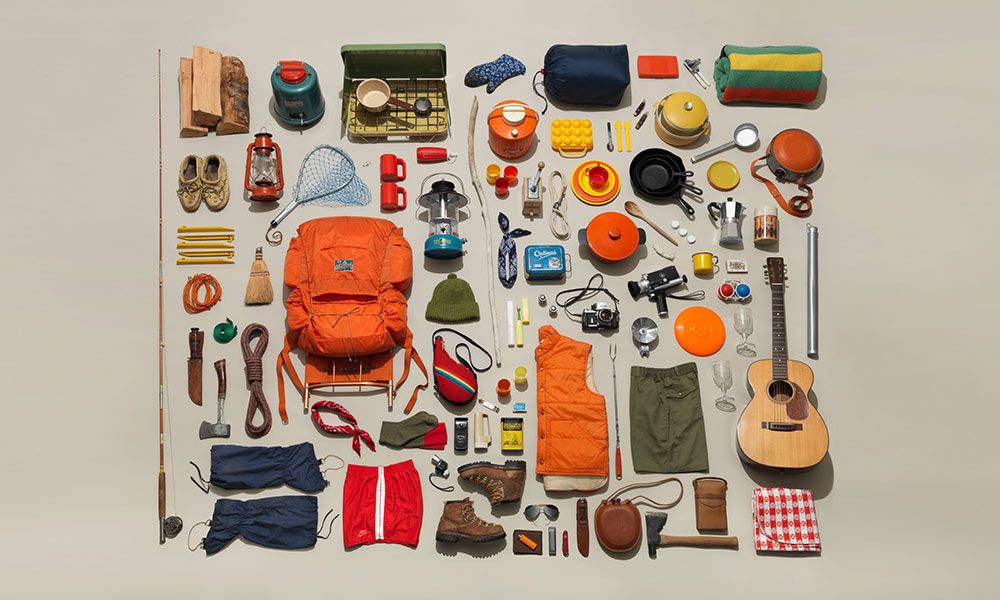
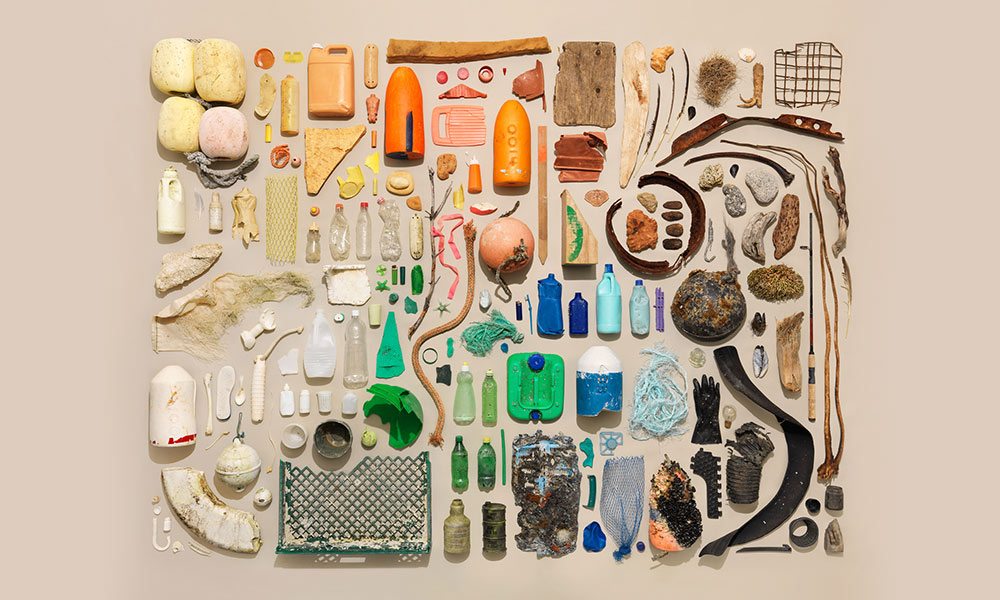
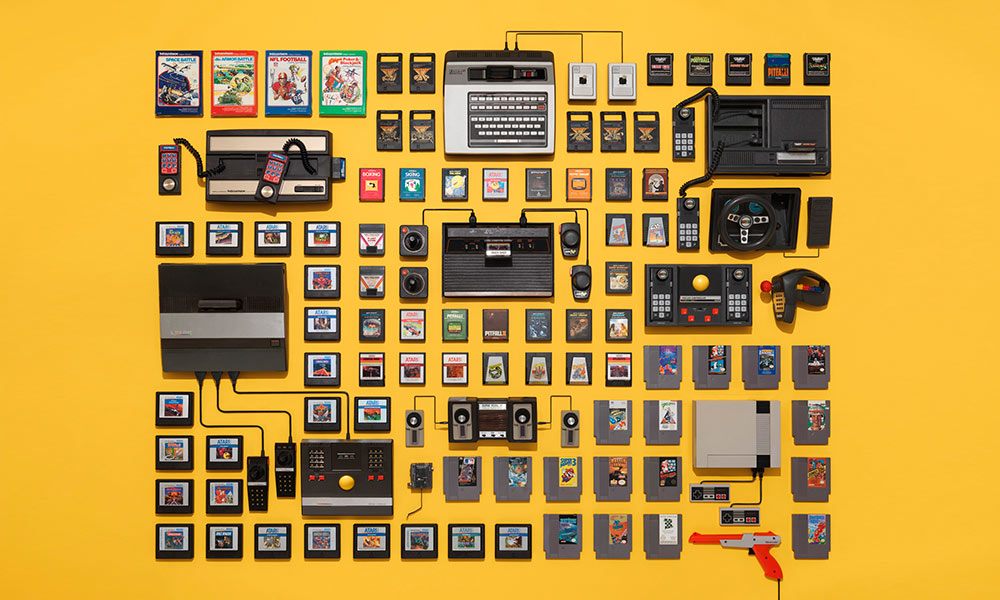
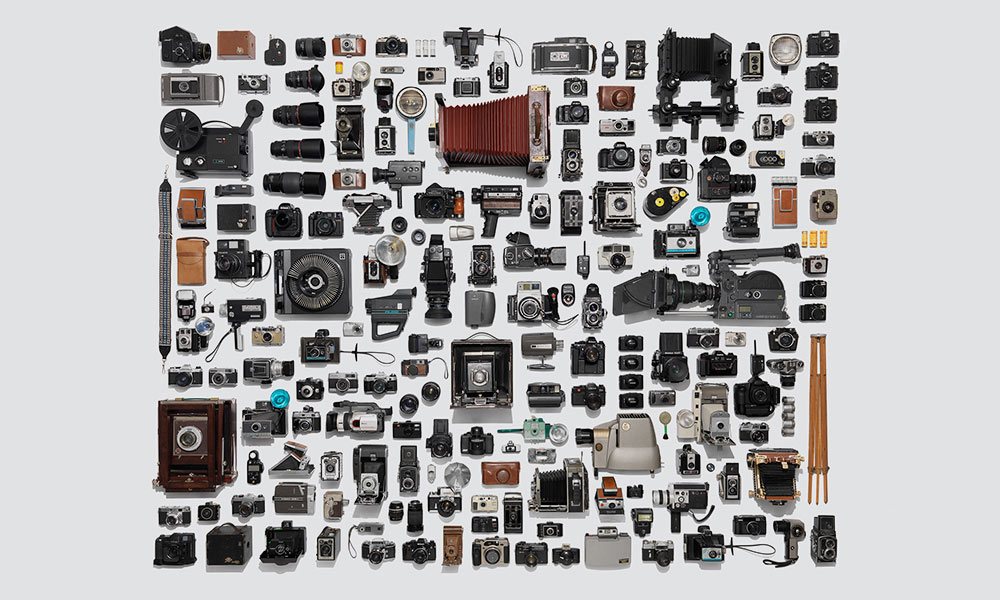
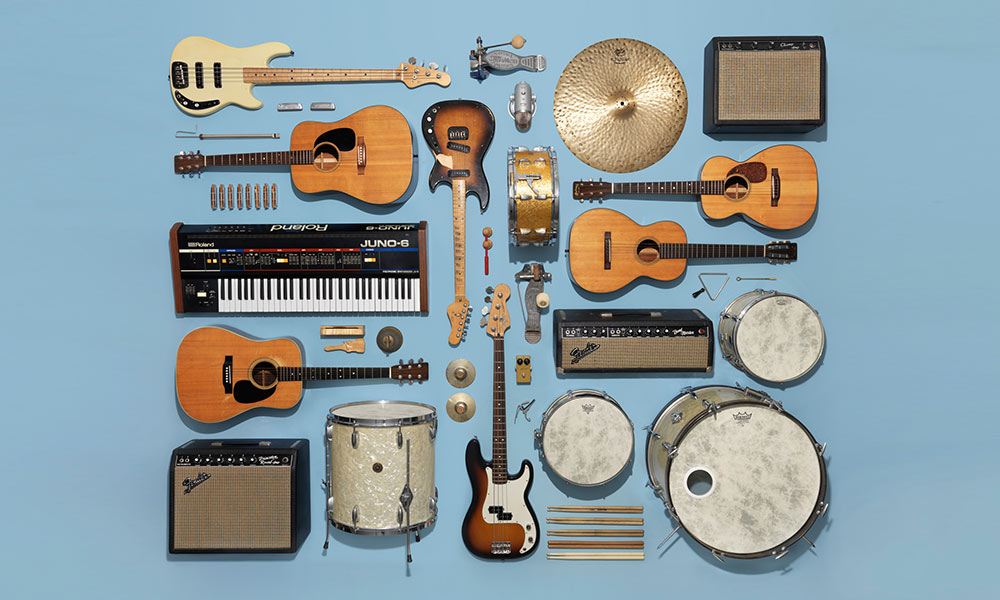
Knolling, the process of arranging a group of related objects in a clean, organized way by utilizing parallel lines and 90° angles, can help you garner Instagram “Likes” by the bucketful. There’s just something inherently pleasing to the eye about these types of shots. But if you think you can just toss a bunch of stuff on the floor, snap a picture, and ride a wave of praise to social media stardom, you’re sadly mistaken. So, we turned to Jim Golden, an award-winning photographer specializing in still life and product shots, along with one incredible knoller(?), to give you some tips on how to take the shots you’ve wanted to. Here’s what he recommends:

    1. Try to start with at least twice as many objects as you think you’ll need.
    2. If you have a variety of sizes and shapes, place the largest objects first, then fill in with the smaller ones until it feels balanced.
    3. A bright but overcast day works great. You want broad, even light (the cloudy sky is “nature’s soft box”). Lamps at home are one of the worst ways to go.
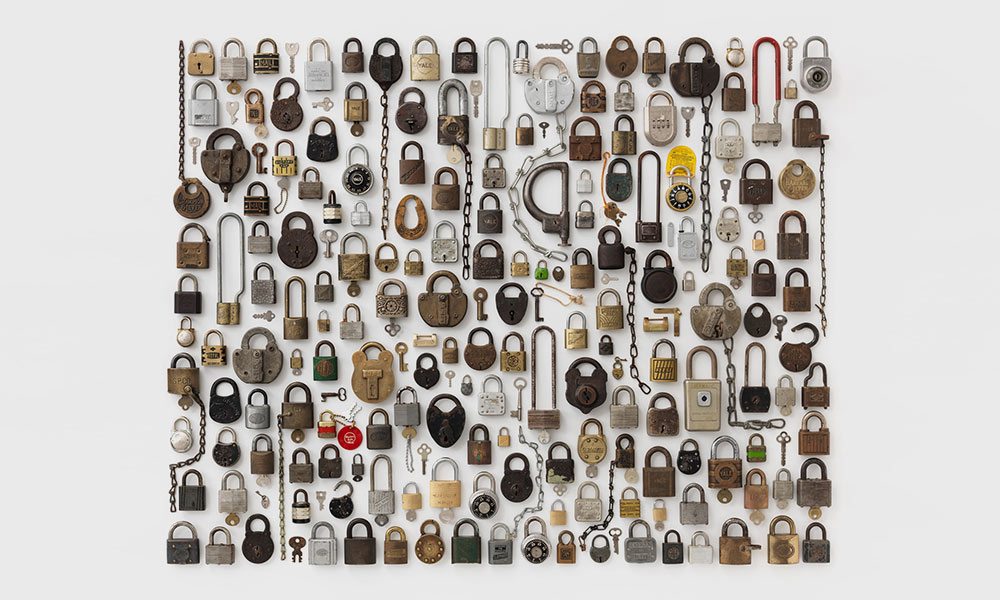
    4. If everything is very close in size, make an interesting pattern out of the objects. Maybe even turn the array on its side.
    5. The background should be simple as to not take away from the subject.
    6. Any camera will work, even a smartphone—the iPhone 6 is one of my favorite cameras, and the Samsung devices have great cameras, too.

Don’t forget to visit Jim Golden’s site to check out more of his incredible work: Jim Golden Studio