It doesn’t matter whether you’ve been shooting photos for 10 years or 10 minutes, or whether you’re a commercial studio photographer or a wedding photographer. It doesn’t matter whether you shoot with a full-frame DSLR, an old Leica, or some weird rig whose name you can’t pronounce that you found at a flea market for 15 bucks. No matter what kind of camera you have, you should at least try to be a street photographer. It’s gritty. It’s genuine. It’s raw. It’s life.
And it takes a lot of skill, patience, and practice to pull off. Rather than push you out of the nest and into the streets, we thought this little guide might come in handy. Also, we’re going to be using a lot of camera words in this one. If you have no idea what an f-stop or an ISO setting is, or it’s just been awhile since you needed to know, here’s a handy guide to get you all caught up.
Picking the Right Camera
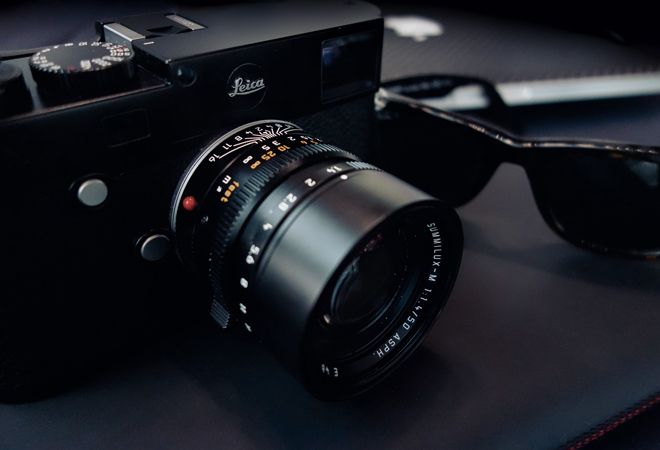
You’re going to hear a lot of things from a lot of different people here. Street photographers will offer the practical and uplifting advice that any camera can be used for street photography, since results mostly depend on the person using it. Other people aren’t so forgiving. Purists will tell you that the only thing worth shooting on is a Leica M. DSLR shooters will tell you that no matter what, DSLR’s are ideal because they offer the best quality.
None of these people are wrong, but none of them are completely right, either.
When it comes to street photography, we don’t really care about overall image size. You wouldn’t know it from how hard camera companies market MegaPixels, but they don’t really matter all that much. Where they’re really important is image manipulation, and even then it’s mostly about how good they’ll look blown up. Put it this way, a blurry 5mp picture isn’t fixed if instead it’s shot at 24mp. You’ll just be able to make that blurry picture really big. The naked eye would have a hard time spotting the difference between a 24mp small or large sensor, and really, anything around 12mp is fine for 90% of the stuff you’ll be doing.
We do, however, care about the element of surprise. It’s important to understand that the larger your camera, the more attention you’re going to draw. So much of what we love about street photography is the idea of being able to operate quietly and inconspicuously, drawing as little attention to yourself as you can. For that, you’ll want smaller bodies and smaller frames.
So, yes, the aforementioned Leica M’s are excellent cameras for street photography. They’re also ungodly expensive. If you have the budget for one, by all means, go for it. If not, we love what people have done with the Sony a7 series, as well as the Fuji X-Pro series. The Olympus Pens are awesome, as are the legendary Canon G series cameras and the Fuji X100 cameras (check out the old X10 if you’re really strapped for cash). You can also check out the Panasonic Lumix GX85, and, of course, the Ricoh GR.
Those options are all digital. If you’re looking for film options, check out the Canon QL series, the old Contax T3 point and shoots, the Hexar AF, Yashica Electro 35, Konica Auto S2, the Leica M-A and CL series. Honestly, they’re all excellent choices.
Focal Lengths
Some cameras, like the Lumix, Ricoh, and Fuji X100 series mentioned above come with their own fixed lenses, while options like the Sony a7s, the Fuji X-Pros, the Leica Ms, and the Olympuses can have their lens switched around. Naturally, different lenses are better at different things, so you’ll need to know what’s best for how you want to shoot on the street.
Picking the right lens is a topic of contention among most street photographers, as, it increasingly seems, most things are. Essentially, you want to avoid zoom lens, and go with something wider. Ideally, you’re looking to go with 28mm and 35mm, but you can experiment with 40mm and 50mm, or even knock it down a notch to 21mm or 17mm. Rent a couple lenses from your local shop and see which one gives you the best results. Everybody’s style is different, so you may find a standard lens doesn’t suit yours.
At 21mm and 17mm you can expect quite a bit of perspective distortion, and you’re also going to have to get super close to your subjects in order to get a shot worth keeping. At 28mm, you’re going to have a lot of frame to work with while being able to keep a fair distance away from your subject. Since street photography doesn’t really focus on sharp-as-a-tack, narrow depth of field, portrait-type stuff, a good 28mm lens will add a lot of depth and perspective to your photos. A 35mm is another excellent choice because you’re going to have a perspective that’s wide enough to frame a scene, without having to get too close or too far from your subject. People find 35mm lenses tend to draw more attention to a photo’s subject(s), which is good since you’ll be shooting with a higher f-stop and a higher depth of field (more on that later).
The 40mm and 50mm lenses are great, too. In fact, some of the most well known street photographers of all time, including Henri Cartier-Bresson, the undisputed father of street photography, use(d) 50mm lenses. But, if it’s our money, we’re scooping up a solid 35mm.
Know Your Lens
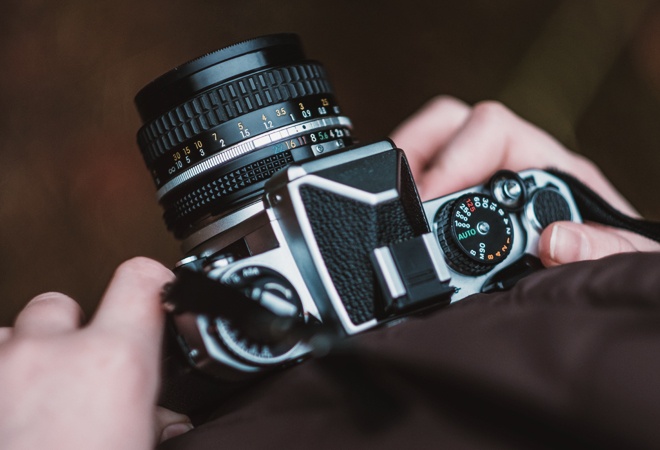
This is probably one of the best pieces of advice we can give you. Each lens records a scene differently, and it’s up to the photographer to know the strengths and weaknesses of their glass.
Your frame lines will change depending on what kind of lens is on your camera. Most cameras should give you frame guides in the viewfinder, but when you’re shooting street stuff, you seriously may not have time to pay close attention to what’s going on in your viewfinder. In fact, depending on the scene, you may not be able to look into your viewfinder at all.
Knowing the general area of your frame lines will help you compose images faster, and, thus, take better photos. This is where shooting digital really helps over film. You can check your frame guides, snap a frame, and then look at the photo itself to see where your lines are. It’s a quick and easy way to get a great feel for your camera’s point of view.
Learn Zone Focusing, and stick to F/8.0 and Above
First of all, let’s answer the question: What is zone focusing?
Zone focusing is ideal for street photography because rather than looking at a subject through the viewfinder and taking the time to focus specifically on that subject, it depends on a photographer’s ability to quickly judge distance. For instance, if you look right now on the barrel of your lens, aside from the list of the f-stops and the lens information, you’ll see different numbers that correlate to feet and meters. Turn the lens to a certain distance reading, let’s say, 7 feet. If you look through the viewfinder, you’ll notice your ideal focusing distance is exactly 7 feet away. Once you learn how to accurately gauge how far away your subject is, you’ll be able to frame them up in the perfect shot with little or no effort.
In order to partially mitigate the difficulty in learning subject distance, you’re going to want to stop your lens down to a smaller aperture. Ideally, you don’t want to shoot lower than f/8, with a lot of photographers preferring f/11 or even f/16 if you have the sunlight and ISO speed for it. The reason for that is because when you shoot at a wider aperture (say f/1.8 or f/2), you’re going to get those beautifully sharp subjects with the dreamy, blurry bokeh in the background. The problem is, the wider your aperture, the more unforgiving your focus is. If you’re shooting at f/8 down, you’ll have a lot more depth of field and won’t have that beautiful bokeh everybody loves, but you’ll also have a much more forgiving focusing zone.
So, for instance, let’s say you have your lens zoned for 7 feet, and the subject walking toward you gets 6 feet in before you snap the shot. At f/2, your shot is blown and there’s nothing you can do about it. Your subject will look visibly out of focus. But if that same scenario occurs at f/8 or lower, you’ll likely notice only a small difference, if any at all.
This method can be extremely difficult to get used to. It takes a lot of time, patience, and shooting in order to get right. But if you do, you’re going to be wonderfully prepared for those fleeting moments that make street photography so candid and beautiful.
Don’t Be Bashful, But Know the Laws
When we first started writing this piece, these were two different sub-heads. But we soon realized, in reality, they go hand in hand.
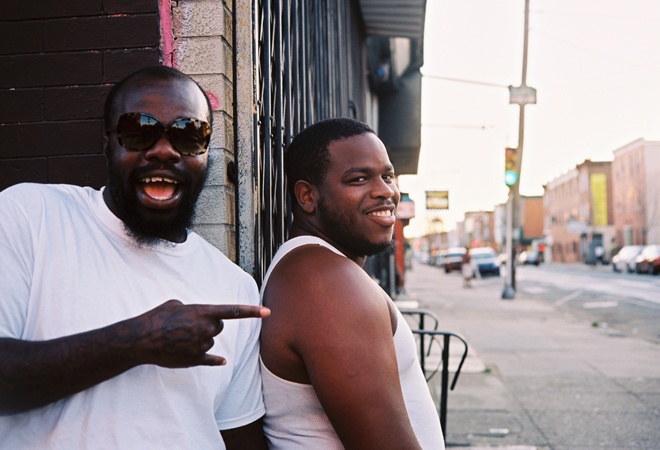
One of the biggest questions new photographers ask veterans is how they work up the nerve to take photos of people in public. The answer is, the more experience you get with street photography, the easier the process becomes. The best thing to do is just go out and shoot, and if things get sketchy, keep shooting but know your rights and the rights of the people you’re shooting (that came out wrong).
People can pick up on body language, and can sense when someone is doing something weird. And let’s face it, street photography is weird. Newcomers to the craft will broadcast their uneasiness, thereby making everyone around them uneasy. But then, the more you do it, the more natural it will become to you, and the more natural your subjects will be.
Additionally, part of people’s fear stem from the legality of it all. While it certainly does change from place to place, if you live in the U.S., you can generally shoot photos of anyone or anything as long as you’re in a public place. Men, women, children, benches, birds, buildings, statues, trees, basically anything that’s a noun—they’re all fair game.
However, there are a few potential caveats. One is how you’re going to use your photos. For instance, if you publish them as art, they’re covered under the law—you’re good. You could even probably sell them without much cause to worry. But if you’re trying to sell them for commercial purposes, that’s a huge no-no. And commercial purposes aren’t always clear. Some practices are legal in one state, where in another, lawyer up, because John Doe and his wife are coming for all you’re worth. The only real clear cut distinction between commercial and art is marketing. If you’re selling the pictures to advertisers, you’ve forfeited your First Amendment protections as an artist, so you better be getting some consent forms from your subjects.
Another caveat is the distinctly legalese phrase, “reasonable expectation of privacy.” Basically, what it means is, if the subject is somewhere they should expect to be “observed or disturbed by other people,” then a photographer is allowed to take pictures of them. This is pretty much anywhere a photographer can see as long as they’re standing on public property. But if someone is in a place where they can expect not to be disturbed, (the article uses a public bathroom as an example) then a photographer can’t barge in and just start snapping away.
To be fair to normal people, there are some cases that skeeve us out and some photographers have won cases with downright unsettling claims. Arne Svenson got off because his neighbors had their windows open, thereby forfeiting their “reasonable expectation of privacy,” despite being inside their own homes and the Massachusetts Supreme Court ruled that upskirting wasn’t illegal because the subject was technically fully clothed, though that was later corrected by state lawmakers.
When it comes down to it, being a street photographer isn’t always easy. You’re taking photos of people when they don’t expect it, at moments that some would consider extremely personal or private (think couple in a public park breaking up or a parent teaching their child to ride a bike). You’re undoubtedly going to encounter people who aggressively don’t want their photos taken. Each photographer handles these circumstances differently, and we won’t tell you what to do (though it’s almost always best to apologize and make a speedy exit, if possible), but it’s also good to know the law so you can know what you are and aren’t “guilty” of.
Have Fun and Enjoy The ride
The only thing left to say is: Have fun, be careful, and do good work. Good luck.
