In this day and age, photography is more accessible than ever before. The folks at Apple brag about their phone’s ability to take billboard quality photos in a package that fits inside your pants’ pocket. Canon recently came out with a consumer-grade DSLR with a sensor that boasts 50 megapixels, a feat unimaginable only four or five years ago. Apps like VSCO turn basic cell phone photos into seemingly gallery-quality works of art.
It’s a pretty wild time to call oneself a photographer.
But what happens when you want to take what you’ve shot and make it tangible? If you think seeing your photo on an Instagram feed is cool, wait until you see it blown up and tossed onto a wall. Here’s How to Print Your Own Photos Like a Pro:
Pros and Cons
First, it’d be irresponsible of us to put this article together without a small preface. If you’re trying to get into at-home printing for the sake of saving money, do not go any further. Achieving excellent quality prints of your work isn’t something that comes easily or inexpensively. If that’s what you’re looking for, you’re barking up the wrong tree.
But if you’re looking for maximum control over your prints—everything from sizing, coloring, contrast, etc.—and are really looking to take your art to a whole new level, then at-home printing may be exactly what you’re looking for.
Additionally, printing photos at home will allow you to think like your printer, a skill most photogs ignore. When you shoot a photo, you’re looking for optimal results based on what you know about your camera. But when you’re printing, you’ll learn how certain inks and certain colors print, and how they react to certain papers and surfaces, etc. At-home printing is about control.
Formatting
The quality of your print begins with the quality of the photo. If you have the option to shoot between JPEG and Raw, go with Raw. JPEGS work fine, and at this point editing software is so good that it’s relatively easy to work with the rigidity of JPEG photos. JPEG files are smaller than Raw—far smaller. They’re engineered to be compressed, and are typically one “layer.” They’re structured simply and while they can usually be edited well, Raw is still leaps and bounds better when it comes to fine art and editing for print.
Raw images are multi-layered and provide more accurate and more detailed colorization of original photos. They provide artists with more control over their images—including white balance, saturation, sharpness, contrast, and everything in between. Raw images are truly excellent canvases to work with if you’re looking for as much versatility as possible.
When Shooting
At-home printing is great because it shows you the value of excellent composition and flawless execution. When you view things on a small screen (like a cell phone or an Instagram feed), it can be very difficult to see an image’s flaws. But, when that image is blown up, flaws become more and more apparent the larger it gets.
That said, always double-triple-check your focus. Even a slightly out of focus image—even one that would be acceptable under normal circumstances—may not work with a blown up print.
Additionally, shoot on as fast a shutter speed as you can in order to prevent the possibility of camera shake. The rule of thumb is make sure your focal length is at least one click higher than the focal length of the lens you’re shooting with. So, if you’re shooting with a 50mm prime lens, you should stay above 1/60th of a second shutter speed. However, when you’re aiming for print-quality photos, try to use as high of a shutter speed as you can without sacrificing the integrity of the shot.
Of course, your aperture is something that should be taken into consideration, too. The higher your f-stop, the generally more crisp of a photo you’re going to take (but the wider your depth of field becomes).
Post Processing
When printing a photo, the most important thing to look at is your Pixels Per Inch, or PPI. For print-quality photos, your photo should be around 300 PPI, and if you’re shooting Raw photos, it may default to 300 anyway. Under normal circumstances, if you were just looking to share the photo on the Internet, 72 PPI would be fine. But for a quality print, the more pixels per inch, the better.
Just a quick note here: When it comes to PPI, 300 may be ideal, but if you’re looking to squeeze a little more space out of an image, you can take it down to 240. You’ll be sacrificing a small amount of quality, but it will allow you to go a little bigger. We’d recommend staying with at least 300 PPI, but know that you have wiggle room if you need it.
Pixels Per Inch can be difficult to understand at first, but think of it like this: A photo only has so many pixels. You can’t remove or add any. So if your image is originally 72 PPI at a width and height of 30 inches by 20 inches, and you need to change it to 300 PPI in order to print, the image will get a good size smaller because you’re not adding pixels, you’re simply condensing the pixels this image has into a smaller space. The result is a smaller, but higher quality, image.
RGB vs. CMYK
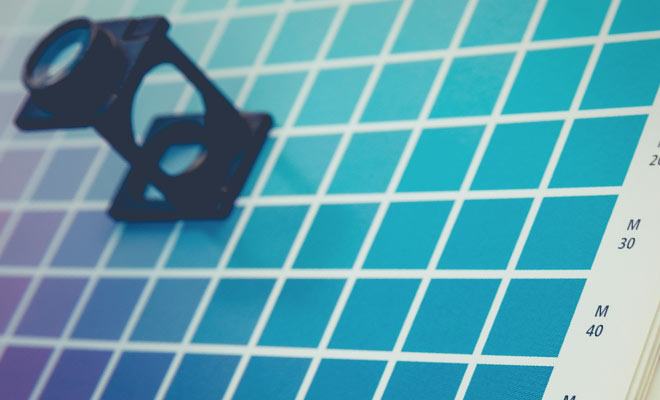
As far as the RGB vs. CMYK debate goes, the answer is simple: For digital applications, RGB is ideal because it works with the lights that most computer monitors use. But for printing, CMYK will give you the truest colors and is the standard for most ink-jet printers (on both the consumer and commercial spectrums).
Photo Editing for Print
A concept that a lot of people don’t consider when they begin printing their work is how a photo looks on a computer screen can be drastically different from how it looks on actual printed paper.
There are a lot of reasons for this, but the main variables include the difference between color rendering on a computer screen vs. physical paper, the type of printer used, the type of ink used, and the photo’s overall resolution.
First, if this is something you’re interested in doing regularly, you should invest a few bucks in getting a screen calibration tool. Every monitor displays colors differently, and calibration tools (like the X-Rite ColorMunkie) ensure that regardless of what monitor you’re working on, your color values remain consistent.
As a rule of thumb, printed photos are usually darker in print than on screen. Additionally, some colors may be over or under-saturated, depending on the printer. When you’re adjusting your contrast or lighting, always keep that in mind.
Unfortunately, you probably won’t know how your printer is going to compensate for saturation and contrast until you run a couple test prints. But once you find a color profile that works, prints should be fairly consistent from there on.
And speaking of test prints…
Buying The Right Printer
And finally, the part that’s going to sting the most. We’ll be straight with you here: When it comes to a good photo printer, you really get what you pay for.
The less expensive photo printers can be good, but they typically can’t handle a format bigger than a standard 4-by-6. If you’re looking to get into professional printing, you’re going to have to cop the extra coin and get something that can handle what you’re trying to do.
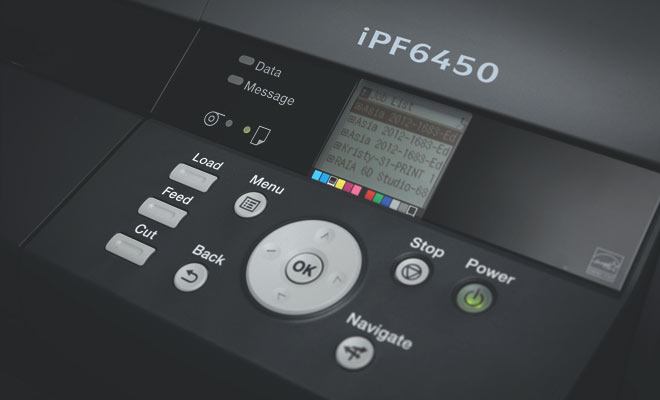
Full-sized printers like the Canon ImagePROGRAF’s of the world can print up to 44-inches wide. While it renders gallery-quality large-format prints, it will also run you over $3,500. If you can do it and are truly looking to start a printing business, then by all means, scoop one of these up.
If you’re on a somewhat limited budget but are still looking for fine art-quality prints, setups like the Epson SureColor P800 are excellent. With a somewhat more modest price tag of $1,150, it’ll still put a dent in your pocket, but as mentioned, if at-home printing is something you’re looking to do, it’s worth the investment.
Additional options include the Canon PIXMA PRO-1, which will save you money on the front end with it’s sub-$1,000 price tag, but will cost you a lot in ink—it’s notorious for it. Canon also has two other members of the PIXMA PRO family—the PRO-10 and the PRO-100. The PRO-10 will run you about $500 and offers excellent quality prints at a maximum size of 13×19 inches (the same output as the PRO-1), but doesn’t offer as much tonal range as the PRO-1.
We could go on for days about printer recommendations, but the point here is this: Do your homework and find something that won’t be a waste of money. If you’re going to invest in at-home printing, do it the right way and save yourself headaches in the long run! Different brands bring different qualities to the table, but you want something that can print at least 13 inches wide, offers excellent tonality, and can work with various types of photo paper. Focus less on the fluff, like fancy design and WiFi capability, and more on the print quality.
