
For starters, your gear won’t perform at its optimal level, preventing you from enjoying the slopes to their fullest. You’ll have a tough time gaining momentum after disembarking the lift. Perhaps most embarrassingly, your crew will leave you in the dust each time a traverse encroaches. You can drop $50 a few times a year to have your gear waxed at the ski shop, or you can drop $50 once on a few basic items and learn how to do it yourself, needing only to replace your bar of wax each time it runs low. It’s not difficult and is the perfect activity to participate in over a beer or two the night before hitting the slopes.
The Importance of Waxing Your Skis and Board
Waxing skis and boards provides full base protection and ensures smooth gliding on snow. Applying a layer of wax maintains ski bases, optimizing performance. Regular waxing fills base material pores, preventing excess wax buildup and maintaining ski or snowboard health. Hot waxing creates necessary glide to make sure you’re going as fast as the gear is capable of going, which is particularly important on flatter stretches. You’ll also benefit from more controlled turns and better edge grip.
Essential Tools and Supplies For Waxing Your Skis and Board
A complete waxing setup comprises a wax iron, plastic scraper, nylon brush, universal wax, and sturdy rubber bands. If you have an old clothing iron that you don’t use anymore, it will work just fine, though specific wax irons are available and are more suited to the task.
Diverse wax types suit various snow conditions, so having a few different types of wax on hand is advantageous. Your local ski shop carries wax for cold temps, warmer temps, and all-season use. Grab a block of each so you’re set for any condition. If you ski or ride once a week or more, keeping a can of rub-on wax in your gear bag is also advised so you can lube up right before hitting the lift in between home-based wax sessions.
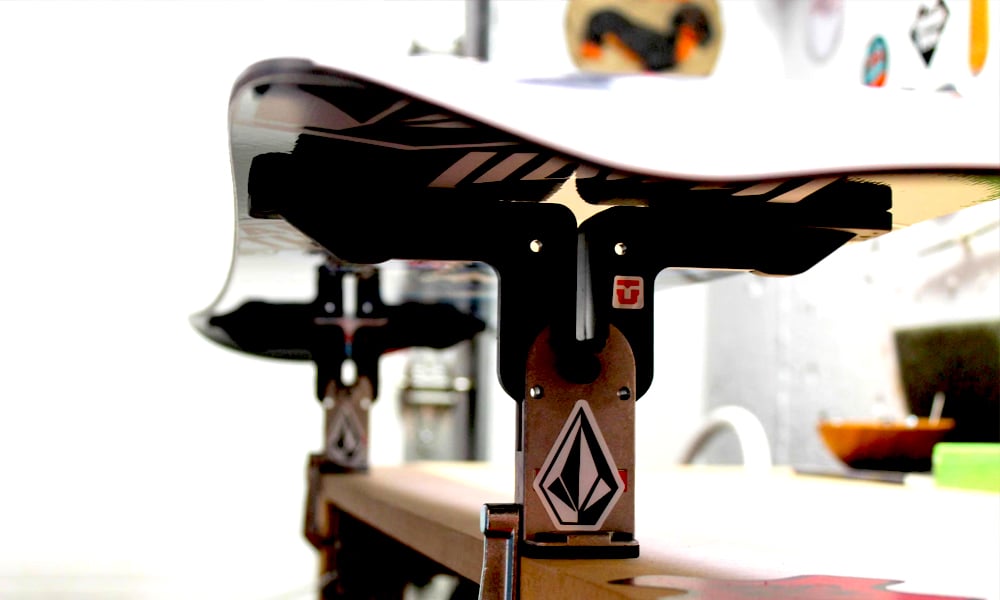
Using a ski brake ensures the ski stays stable during waxing, while a snowboard vise secures a snowboard base. It’s crucial to have base cleaner, sponge, and room-temperature wax packaging. A clothes iron, metal scraper, and horsehair brush will come in handy for buffing and scraping after you’ve applied the wax and have let it cool.
Setting up Your Workspace For Ski and Board Waxing
When preparing to wax your skis and snowboard, secure them on a workbench or stable surface for stability. Setting up a dedicated table in a garage or gear shed is the best practice, because waxing tends to make a bit of a mess and you don’t want to ruin an indoor space. Ventilate your work area well to prevent over exposure to wax fumes. Maintaining a clean workspace lowers the risk of accidental damage to your equipment.
Choosing the Right Wax Based on Temperature
When selecting wax, consider the snow temperature and conditions of where you’ll be riding. Different waxes are designed for specific temperature ranges. Use hot waxing for colder temperatures to ensure proper penetration, and opt for universal wax in varying conditions.
Things to keep in mind:
- Snow Humidity: Wetter snow might require softer waxes with better water repellency, regardless of temperature.
- Sun Exposure: Shaded areas often have colder, harder snow, while sunny patches might demand softer waxes.
- Personal Preference: Some skiers prioritize glide over grip, or vice versa, influencing their wax choice.
Ski wax is crucial for optimal glide and performance on different snow conditions, and choosing the right type depends heavily on temperature. Here’s a breakdown:
Cold Snow (Below 25°F/-4°C):
Blue Waxes: Hardest waxes, great for icy and dry snow. Provide excellent grip and durability but sacrifice some glide. Popular choices: Swix CH8, Toko Blue Extra, Rex Blue Klister.
Green Waxes: Slightly softer than blue waxes, offer a balance between grip and glide on cold, dry snow. Good for general winter conditions. Popular choices: Swix LF9, Toko Speed Green, Vauhti Opti Grip Wax.
Mid-Range Snow (25°F to 40°F/-4°C to 4°C):
Violet Waxes: Offer good versatility across a range of cold to slightly temperate snow conditions. Balance glide and grip well. Popular choices: Swix VR40, Toko Tour Red, Rex Green Klister.
Red Waxes: Softer than violet waxes, best for slightly warmer and slushy snow. Prioritize glide over grip. Popular choices: Swix F4, Toko Red Extra, Rex Blue Extra Hard Paraffin.
Warm Snow (Above 40°F/4°C):
Yellow Waxes: Softest waxes, excel in wet and spring snow. Maximize glide with minimal grip. Popular choices: Swix F4HF, Toko All Weather Red, Vauhti Super Glide Wax.
Fluorocarbon Waxes: Premium option for all temperatures, especially wet snow. Enhance both glide and water repellency, but come at a higher price. Popular choices: Swix Quantum, Toko Speed Glide Plus, Vauhti Special Fluor waxes.
Fluorocarbon Ski Wax vs. Environmentally Friendly Waxes
When comparing fluorocarbon ski wax and environmentally friendly waxes, consider the benefits of each. Fluorocarbon offers enhanced water and dirt repellency, ideal for racing due to exceptional glide. However, environmentally friendly waxes are bio-based, reducing environmental impact and promoting eco-friendly skiing.
Step-by-Step Guide: How to Wax Your Skis and Board
1. Cleaning Your Skis or Board Before Waxing
Before waxing, use base cleaner to eliminate old wax and dirt from the ski base. Then, clean the base material with a sponge and let it dry thoroughly. Wipe the base of the skis or board with a clean, dry cloth. Before waxing, clean the ski brake to avoid interference with the process, and inspect the ski bases for any repair needs.
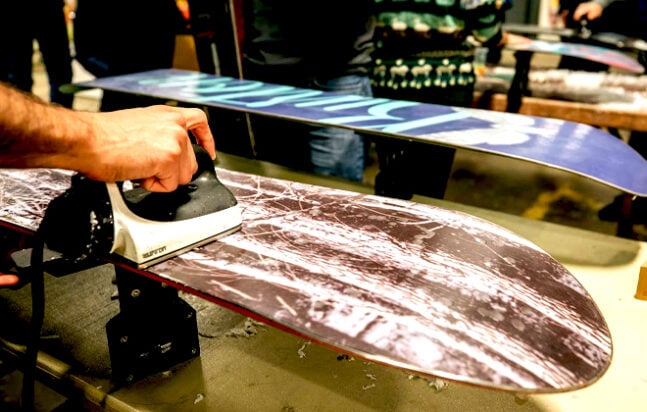
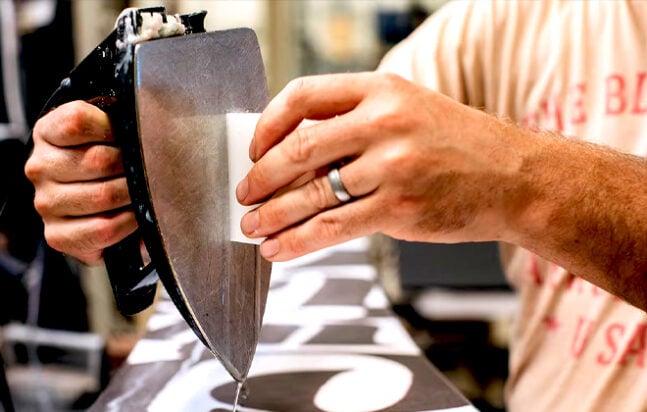
2. Heating the Wax
When heating the wax, slowly and steadily melt the wax bar onto the ski base, ensuring even coverage. Monitor the steam holes for consistent melting and keep the ski brake arms clear. This process guarantees a smooth application.
3. Applying the Wax Correctly
Applying the wax correctly involves spreading it in a zigzag pattern over the entire ski base. Allow the wax to cool before scraping to bond with the base material. Remove excess wax with a metal scraper, applying even pressure with the iron for uniform distribution.
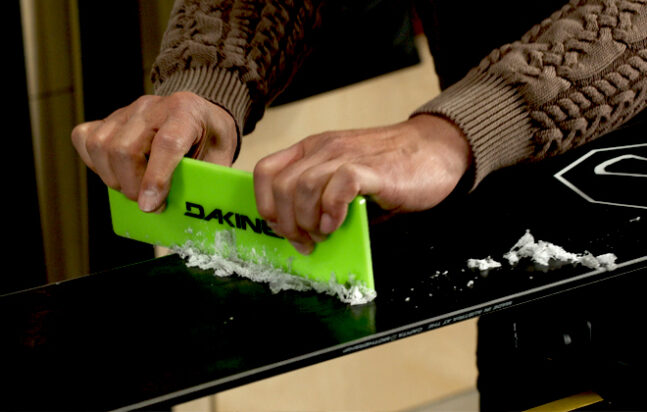
Techniques For Scraping and Brushing Your Skis and Board
After scraping the excess wax layer with a metal scraper, use a nylon brush along the ski’s length. Finish with a horsehair brush for a good buffing. Brush until smooth and consistent, always following the ski’s shape. This technique ensures a well-prepared base for optimum performance on the slopes.
How Do You Wax Skis Without Clamps?
To wax skis without clamps, adjust the ski brake arms and secure the skis to a solid surface with a strong rubber band. Use a clothes iron to apply wax in small, circular motions. Remove excess wax with a nylon brush, working from tip to tail. Wax skis at room temperature for optimal absorption. Hot wax the entire base, not just the glide zones.