

Cold brew coffee is the newest coffee craze sweeping the nation, and quite frankly, we’re glad. It’s about damn time. Cold brew is smoother and naturally sweeter on the palate than regular coffee, which makes it more enjoyable to consume without high-calorie additives. Because of the brewing process, it’s more concentrated than standard hot-brewed coffee, which means its caffeine content is through the roof. We could go on and on about why we love cold brew, but that’s not what this article is about.
Everyone from Dunkin’ Donuts to your local neighborhood coffee shop is getting in on the cold brew craze, but what about those of us DIYers who want to make it ourselves? We knew we weren’t alone, so we decided to throw together this handy guide. Here’s the step-by-step guide to a solid cold brew.
Materials/Ingredients
Perhaps the best thing about a DIY cold brew (aside from how delicious it is) is that it doesn’t take a lot of materials or ingredients. If you want, you can buy a kit. But if you want to get down to it old school, you’ll need:
- One pitcher, no smaller than two quarts
- One storage container, no smaller than 2.5 quarters
- A fine mesh metal strainer
- A liquid measuring cup
- Standard coffee filters, or a very fine cheesecloth
- Editor’s Note: You want to pre-soak your filter in water to ensure that brew doesn’t get absorbed and lost into the filter—this stuff is good to the last drop.
- If you’re going to be working with whole beans, you’ll need a grinder
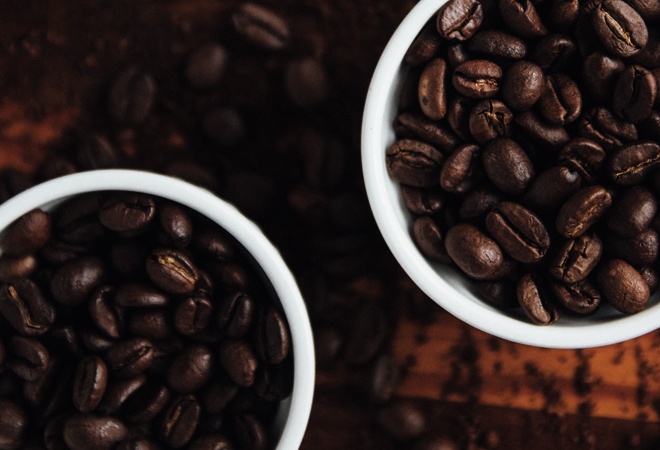
Don’t Go Crazy, But Pick a Solid Bean
This “recipe” has but one ingredient: Coffee beans. That means that you probably shouldn’t screw it up by selecting bad beans. Fix that problem by picking good ones.
The issue here is that when it comes to cold brew, “bad” is a broad term. Generally speaking, you’re going to want a basic medium or dark roast bean. French beans are generally great, as are our personal favorites, Colombian.
You’ll want to stay away from the more citrusy or acidic beans, so for this particular project, lose the African, Ethiopian, or any of the other classically sweet/tangy blends. The whole point here is to keep things less acidic.
Different kinds of coffee drinkers will tell you all different reasons why their blend is best (usually bullshit), so instead, experiment. Pick up a pound of the cheapest dark roast Colombian beans you can find. It’ll put you in the ballpark of what a good cold brew should taste like no matter how awful the beans actually are, and also won’t put you on the street if you somehow manage to botch your first attempt and need to pick up another bag.
If you’re getting pre-ground coffee, you need to get it coarse—the coarser, the better, so as to reduce the potential sediment buildup in the final product.
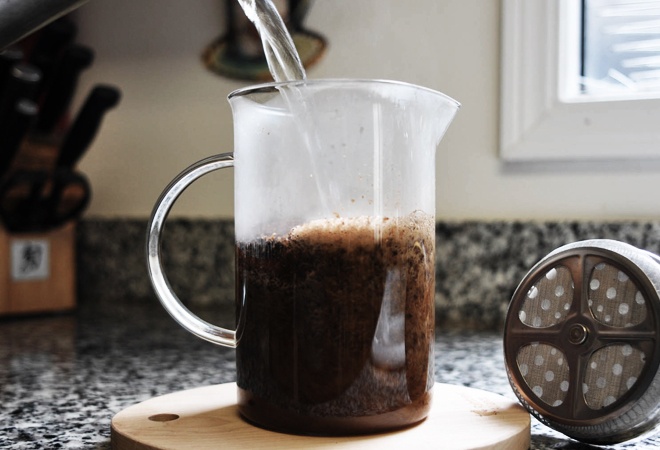
Mix Your Beans and Your Water
If you’re good with fractions, you can technically split this recipe into any various quantities in order to work with the tools you already have in your home. Plenty of people have plenty of questions about that sort of thing. However, we’re a goddamn men’s site, so we’re going to keep this as simple as possible.
Take the bag—the whole pound of coffee—and toss it into the larger pitcher or storage container. You can get yourself a heavy-duty glass jug, a standard Rubbermaid pitcher, or whatever you want. Just make sure it’s at least 2.5 quarts.
After you toss in the coffee, slowly mix it with nine cups of water. We recommend stirring after every cup of water to prevent the coffee from getting stuck floating on top. You want the beans in the water, not above it.
Steep the Beans for, well… It Depends
There is a lot of contention surrounding how long the ground beans need to be steeped in water.
Some people swear by a 24-hour steep in order to thoroughly unlock all the flavor of the beans. They say the 24-hour period is necessary to completely permeate and cycle the flavor out of every single bit of bean, and that it’s worth the wait.
Others even say it’s appropriate to wait as long as 36 hours in order to truly get every ounce of flavor out of your grinds.
And others call those people crazy.
What we can say for sure is, steep your grinds for at least 12 hours. If you prep and pour in the morning, you’ll be ready to strain by the time you get home from work that evening. We’ve found absolutely no difference between 12 and 24 hours, but every coffee drinker is different. Experiment, see what you like, but do not steep the grinds for less than 12 hours.
Strain it Two Times—No Less
There’s simply no room for debate here. You need to strain your coffee twice. Period.
After you’ve steeped you grinds for no less than 12 hours, take the concoction and strain it over your fine mesh metal strainer and into your second, smaller container. Scoop everything—including the grinds—out onto the strainer and without pressing, let them strain for five to seven minutes. In the video above, Thomas Joseph recommends three minutes, but we’d argue you’re leaving a lot of brew behind. While you’re waiting, wash the first container (the one you just poured the grinds out of).
After the five to seven minutes, toss the grinds and wash the strainer. When the strainer is clean, take the damp coffee filter and lay it in the bottom of the strainer.
From there, slowly pour the brew through the filter. What’s left is your cold brew concentrate. Boom!
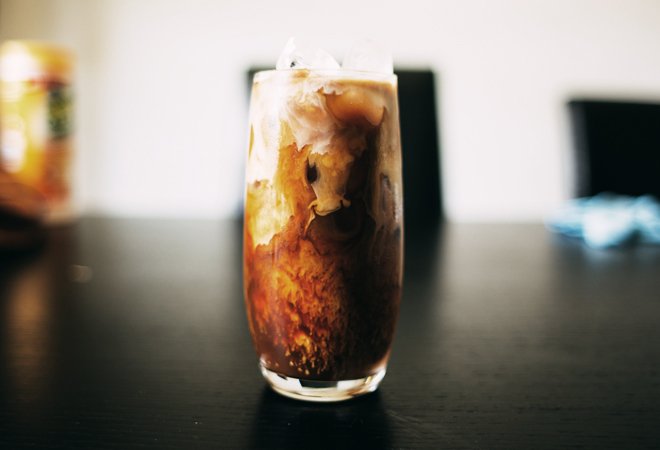
Dilute, Dilute, Dilute
After you strain your cold brew, if it looks about a quart less than what you were expecting, that’s because, well, it is. What you have before you is a cold brew concentrate.
You’re going to need to dilute it a bit, and all you need to decide now is how you’d like to do it. If you’re batching this out for just yourself, you may want to consider storing it undiluted. As a concentrate, it’ll stay fresh for up to two weeks. Once diluted with water, it’ll only keep for two to three days.
That said, if you’re the cool roommate or the killer husband and you’re batching for multiple people, you can dilute the concentrate at a ratio of one to one (or, if you want a more potent blend, you can do three parts concentrate, two parts water).
And if you don’t like the idea of watering down your concentration, you can cut it with milk, too. The coffee flavor is so much more mellow and whole that you shouldn’t need to add sugar, but the world is yours, kid!