It’s a cold, hard truth: Men like sandwiches. Reubens, specials, or even hot-dogs. Basically, meat between bread. And very few things complete a sandwich like a pickle. Problem is, we’ve kinda grown tired of the mass-produced pickles taking up residence on supermarket shelves for months on end. Artisanal pickles are fine, but let’s be honest, a jar costs more than the sandwich. What’s a pickle challenged man to do? Make your own. It’s easy and easy on the wallet.
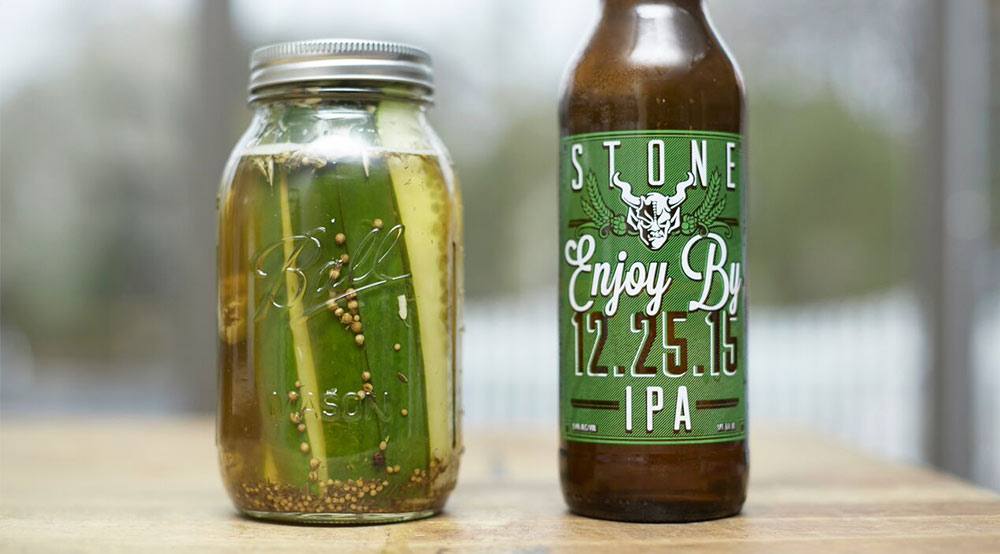
Now, the question is what kind of pickle to make? After all, there are sweet pickles, half-sours, kosher, Polish, gherkins, and even those cute little cornichons. The good thing about pickles is that it’s really up to your own personal taste, so go with what you like. We decided to combine a sour, slightly salty brine with the unmistakable aroma and taste of a hoppy beer. Yep, we are making beer pickles, kiddos, and you can too.
What You Need
- 2 regular sized cucumbers (or 4 to 5 smaller Kirbys)
- 1 large Mason jar with sealable lid*
- 1 tablespoon decent quality sea salt
- 1 tablespoon sugar—white, brown, whatever
- 1 tablespoon dried dill
- 1 tablespoon pickling spice
- 3 cloves of garlic, skin removed
- Just under 1 cup of white or cider vinegar (we used cider)
- Just over 1 cup of hoppy beer
*Sealable lid if you plan to store longer than a couple days. Otherwise, any lid will do.
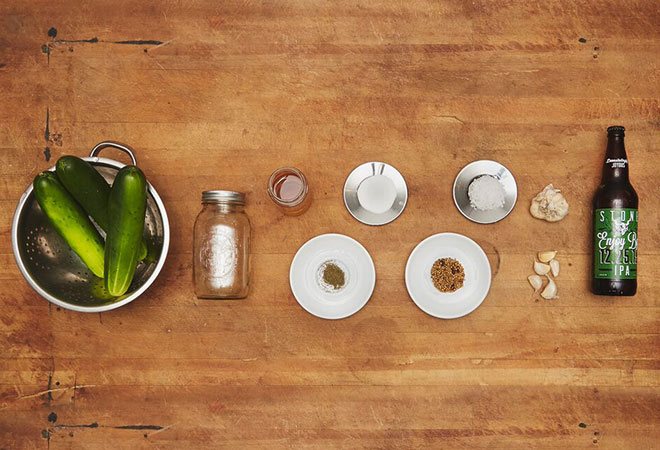
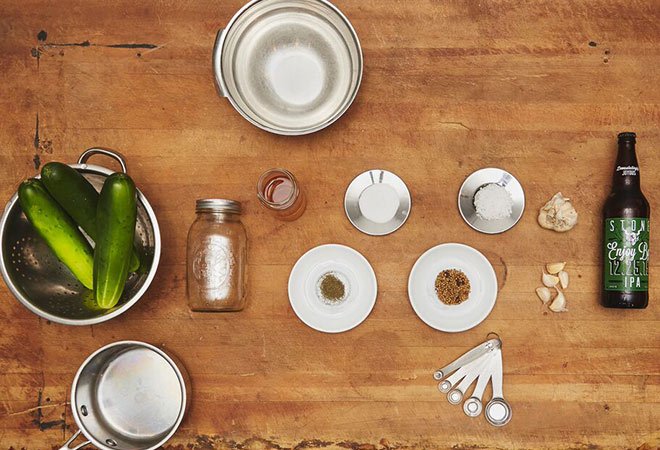
Step 1: Organize
The French call it mise en place, and it means “everything in its place.” You don’t want to be all ready to go and realize you forgot the damn beer. Get it all together—pots, pans, knives, everything. It will make this much easier.
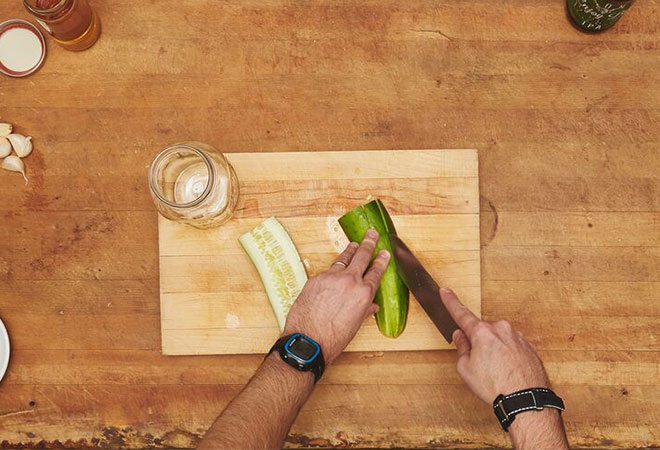
Step 2 – Prepare the Cukes
Whether you are making spears or chips, get them cut in advance and in a bowl. We’re making spears, so we compared the cucumbers to the height of the jar and cut accordingly.
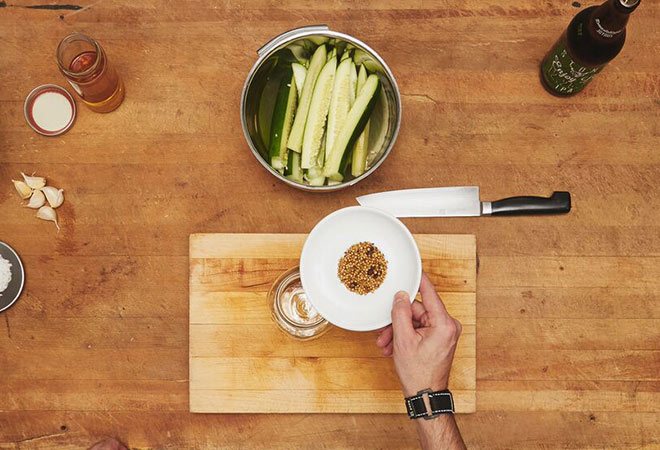
Step 3 – Spice the Jar
Pour the pickling spice, dill, and garlic into the jar.
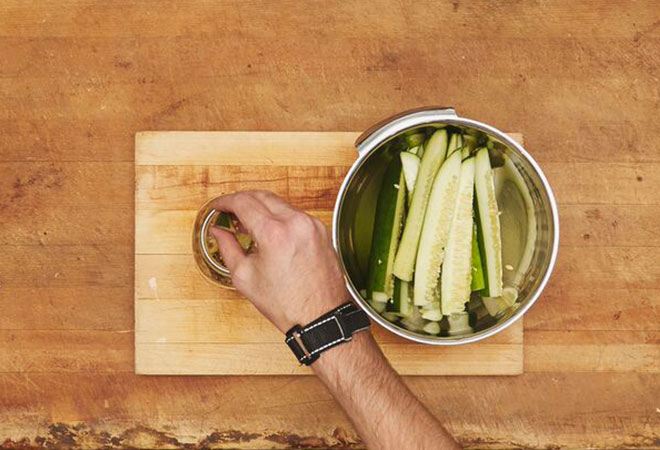
Step 4 – Pack the Cucumbers Into the Jar
Tightly.
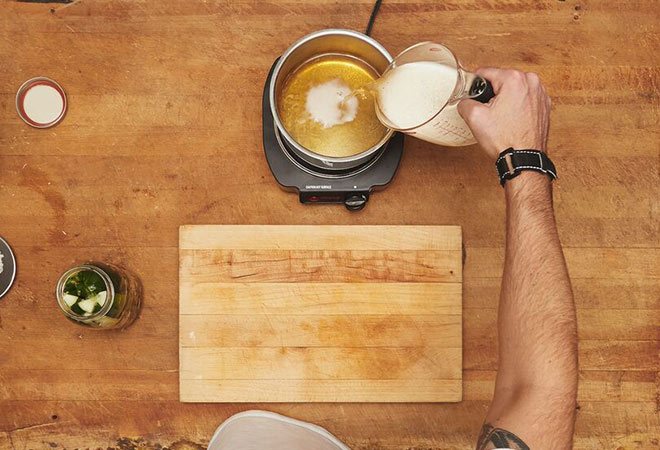
Step 5 – Prepare the Brine
In a small pot, combine the vinegar and beer and bring to a boil. When a rolling boil is reached, lower to a simmer and pour in the sea salt and sugar. Stir to combine. Turn off heat and carefully pour the brine mixture into the jar leaving approximately an inch of space from the top of the jar.
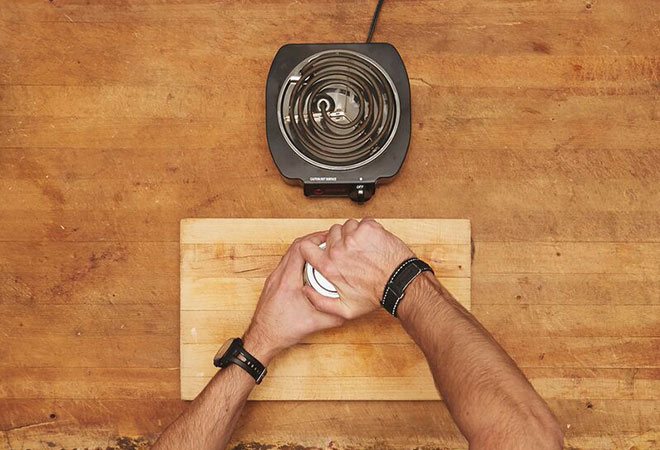
Step 6 – Seal the Jar
Place lid and ring on jar and make sure it is on tightly. If you will be storing the pickles for any length of time, place the finished jar in a large pot of boiling water for about a minute to fully seal the lid. If not, tightly close the lid and put em in the fridge overnight. They will be ready to eat in the morning. Enjoy!